Saturday, November 3, 2012

Pleasant Nightmares!

I miss my blog.  I haven't had a lot of time to be crafty because I'm working so much overtime at my job and any free time I do have I'm too exhausted.  But now that the holidays are upon us, I AM going to make time for this blog, no matter what.  

Halloween is my FAVORITE holiday!  I love dressing up; it's the one time of year where you're allowed to be someone else.

My friends and I throw a Halloween bash every year.  It's called the Worst Witch party.  It all stemmed from my friend Jennifer and my love for the classic 80's movie The Worst Witch starring a young Fairuza Balk, Tim Curry and Mrs Garrett from the Facts of Life.  What started as an innocent introduction of the movie to her then 3 year old has snow balled into this awesome get together that we now know as "Worst Witch".

I made up some invites for this shindig.

I got the adorable witch hats from The Cutting Cafe.  And I used Copic markers and Stickles.

What you will need:

  • Black cardstock base, folded at 6 1/4 x 4 1/4 inches
  • 3 different colors of cardstock cut to 6 x 3 1/2 inches.  I used purple, orange and lime green.  
  • Same 3 colors of cardstock cut to 5 1/2 x 3 inches.  
  • Same 3 colors of cardstock cut to 3 1/4 x 3/4 inches.  This will be the "tag" your sentiment goes on.  I printed the words "Mirror, mirror on the wall.  Who's the worst witch of them all?" for my sentiment.  It is a line from the title song of the Worst Witch movie.  
  • Halloween themed ribbon cut to 5 1/2 inches.    
  • Distressing ink, any color you like. 
  • markers
  • Halloween stamps


Here are all the supplies cut.


And here are my sentiment tags.  I only used 2 colors and I wish I would have made up some purple tags too.  

You just layer all of the cardstock, glue the ribbon on the bottom of your top cardstock, glue your witch hats to the top cardstock and put your party information on the inside of the card.  I had printed up my party info and used the cut little digi stamps from the above link.  I forgot to take a picture of the inside, unfortunately.  They were really cute though.  

 I made one of my friends an Iowa Hawkeye version of the card.


I also made some cute eating utensil holders.   It's as easy as it looks.  You just wrap Halloween themed scrapbook paper around your napkin and plastic utensils. This can be done for any holiday or event.


Here are some of the decorations I put up this year.  

I got this cute bat copper sculpture from AJ's Copper Garden.  The only bat I like.  


My cute dining room.


The spider house!  


I made the witch legs out off pool noodles, slapped some tights on them and put some funky platform shoes on.  I got the idea from Pinterest, of course.


I made caramel apples.  I dipped them in nuts, Reese's Pieces and chopped up Butterfingers.  I mother said hers was delicious!


And then I wrapped them.  


I made up some swag buckets complete with a box of Boogers!  

There were lots of yummy dishes at the party but one of my favorites was this Snake Calzone from Kraft.  

Costumes are optional at Worst Witch.  I always opt for costume!

I went as a pink haired living dead girl. I jokingly said I was Jem, 30 years later.  One day I will dress up as Jem but only when I'm able to do it right. 


My niece Chandler.  Also, please note the cute little witch shoe candle holder.  


Aniyah (the mummy) and Stacy (the witch) or as I like to say, Goldie Hawn at the end of Death Becomes Her.


My mom


Miranda came as Sally

The evening consisted of yummy, ghoulish foods, games, dancing and a viewing of the Worst Witch.  I think everyone had a good time.  I can't wait to plan for next year!  

And lastly, I made this wonderful Halloween cake to take to work on Halloween.  
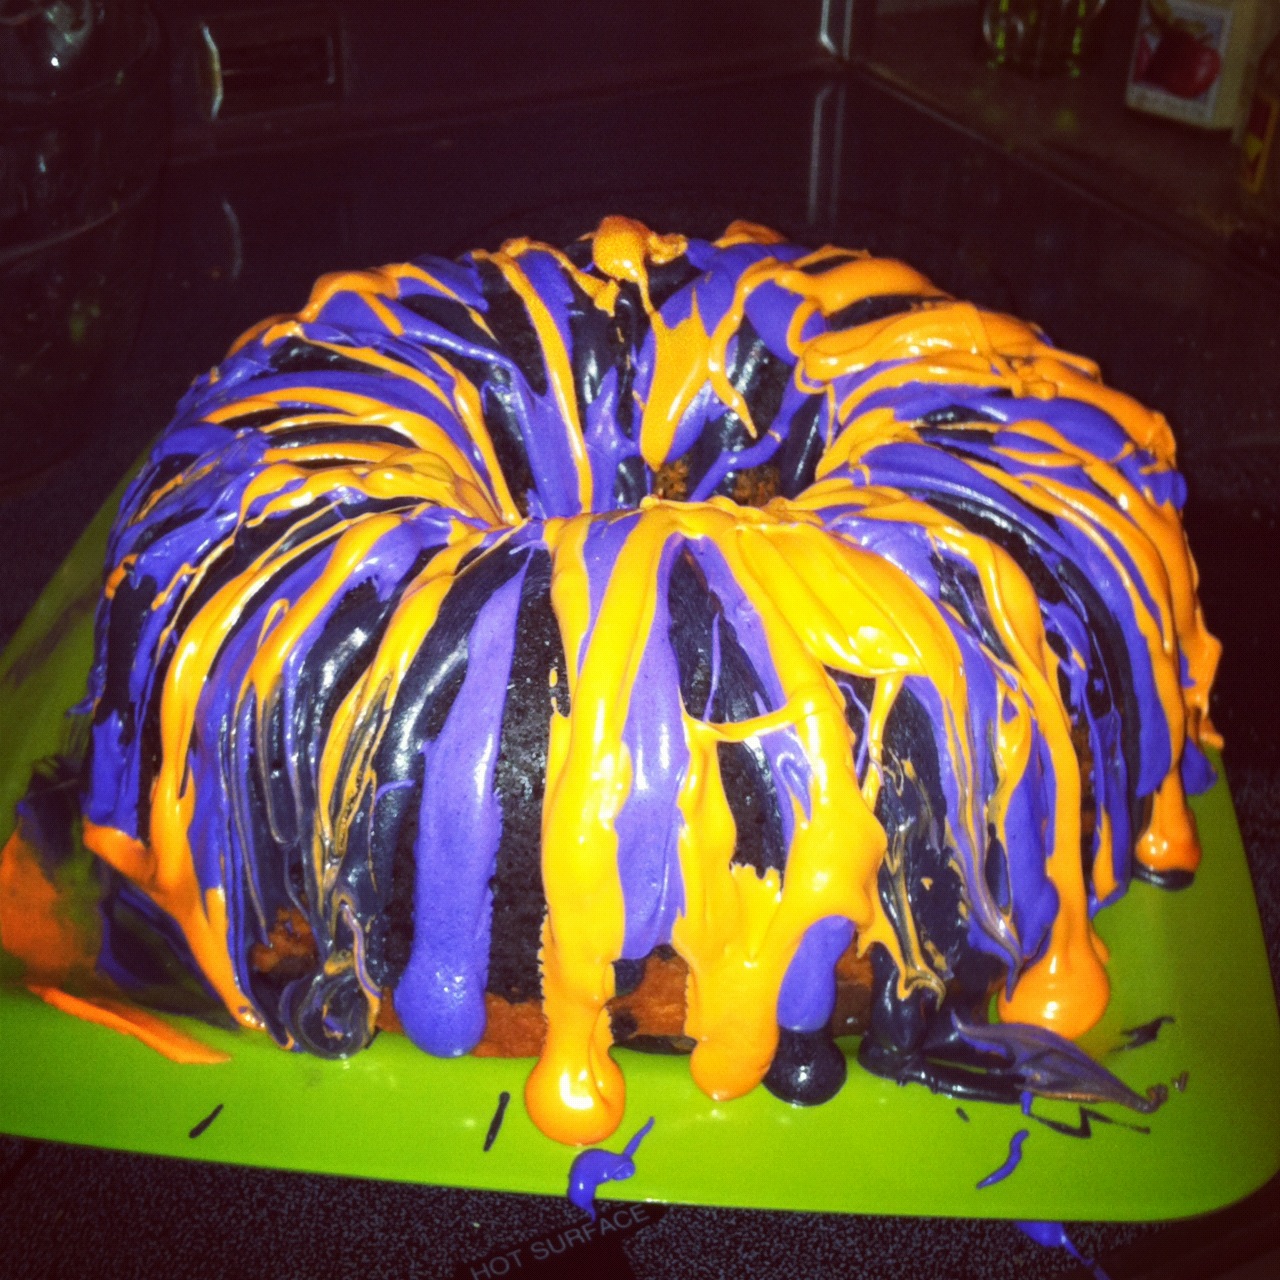

Look how beautiful the inside of it is!  

I took this to work and all but one little slice was gone.  The cake was so moist and sweet.  I'm definitely making it again.  I'll probably make a Christmas version.  

Here's where I got the recipe---> Cooking With Sugar


I can't believe it's all over! 

Thanks for reading!  I'll be blogging again soon.  Christmas is coming which means Christmas card making time!  

Anything can happen on Halloween, 
Jules

Friday, September 7, 2012

Hi-ya, Corn Poppy

It's getting to be that time of year again.  The temps are dropping, the fireplaces are coming on and my skin is begging for a regular moisturizing regimen.   The leaves changing, the pumpkin patches, Halloween decorating and celebrating, a sweater collection that would make Bill Cosby hard...I love the Fall!  

I'm going to try some new Halloween recipes and hope to do a blog series similar to my "12 Days Of Christmas" posts.  And another one of my goals is to compile some of my favorite soup recipes and put them in a scrap/cookbook.  Those are just a few things to look forward to in the next couple of months. 

But before we can get to the Fall, we must finish Summer.  And have I got a summery card for you all.  

This card went to my friend, Courtney.  It was a little late...oops!  It was a busy month for me.  But she is very understanding.  Courtney is another friend that I've had since 3rd grade and for anyone keeping count, that's 26 years!  It seems impossible that much time has passed.  


Okay, before you bust my chops, the sun is horrible!  I cut that out myself and it shows.  I may have to invest in a sun stamp.  

The cloud paper was a 12x12 double sided paper from Best Creation Inc in "California".  They have a bigger set of clouds with a bluer sky on the other side.  The sunglasses are a sticker from Echo Park Paper Co. in "Element Stickers".  The rainbow is another Doodlebug Design's Doodle-pop in "Rainbow".  The star was something a friend had left behind on our last craft day.  I used a no name ribbon with little suns on it. 

 I'm not sure if you can tell, but the Happy Birthday sentiment is fringed.  It's really easy.  You just stamp any print words on paper and cut slits in between each letter.  Then you feather the letters out.  

And I did use Stickles in "Frosted Lace' all over the clouds.  


I hope my card brought some sunshine to your day!

Sometimes the rainbow, baby, is better than the pot of gold, 
Jules


Saturday, September 1, 2012

Another Boy Card...How About Monsters?

My youngest nephew, Max, has turned 8 years old!  These damn kids are growing up too fast!  

I've said it before, I'll say it again.  I struggle with boy cards so I follow one rule.  Keep it simple.  Straight lines and primary colors work for me.  8 years old is an age that I can still get away with cutesy but boyish designs.  

I got the monster digi stamp from Doodle Dragon Studios.  I can't remember where I got the word bubble (which is really a thought bubble but I didn't realize it until I printed it) from but you can find a lot of them online.  I just simply wrote in the "Happy Birthday!"

And I used Copic markers to color in the monster, of course.  


I got the Happy Birthday stamp from Michaels.  

And here's the birthday boy!

Happy birthday, Maxwell Joe!  

~Jules

Thursday, August 30, 2012

With A Cherry On Top

I have been having quite the love affair with the Doodlebug Design Inc's Doodle-pops lately.  I just can't get enough of them.  They're so freakin' adorable!  And perhaps one of the cutest Doodle-pop is the one I'm about to show you.  

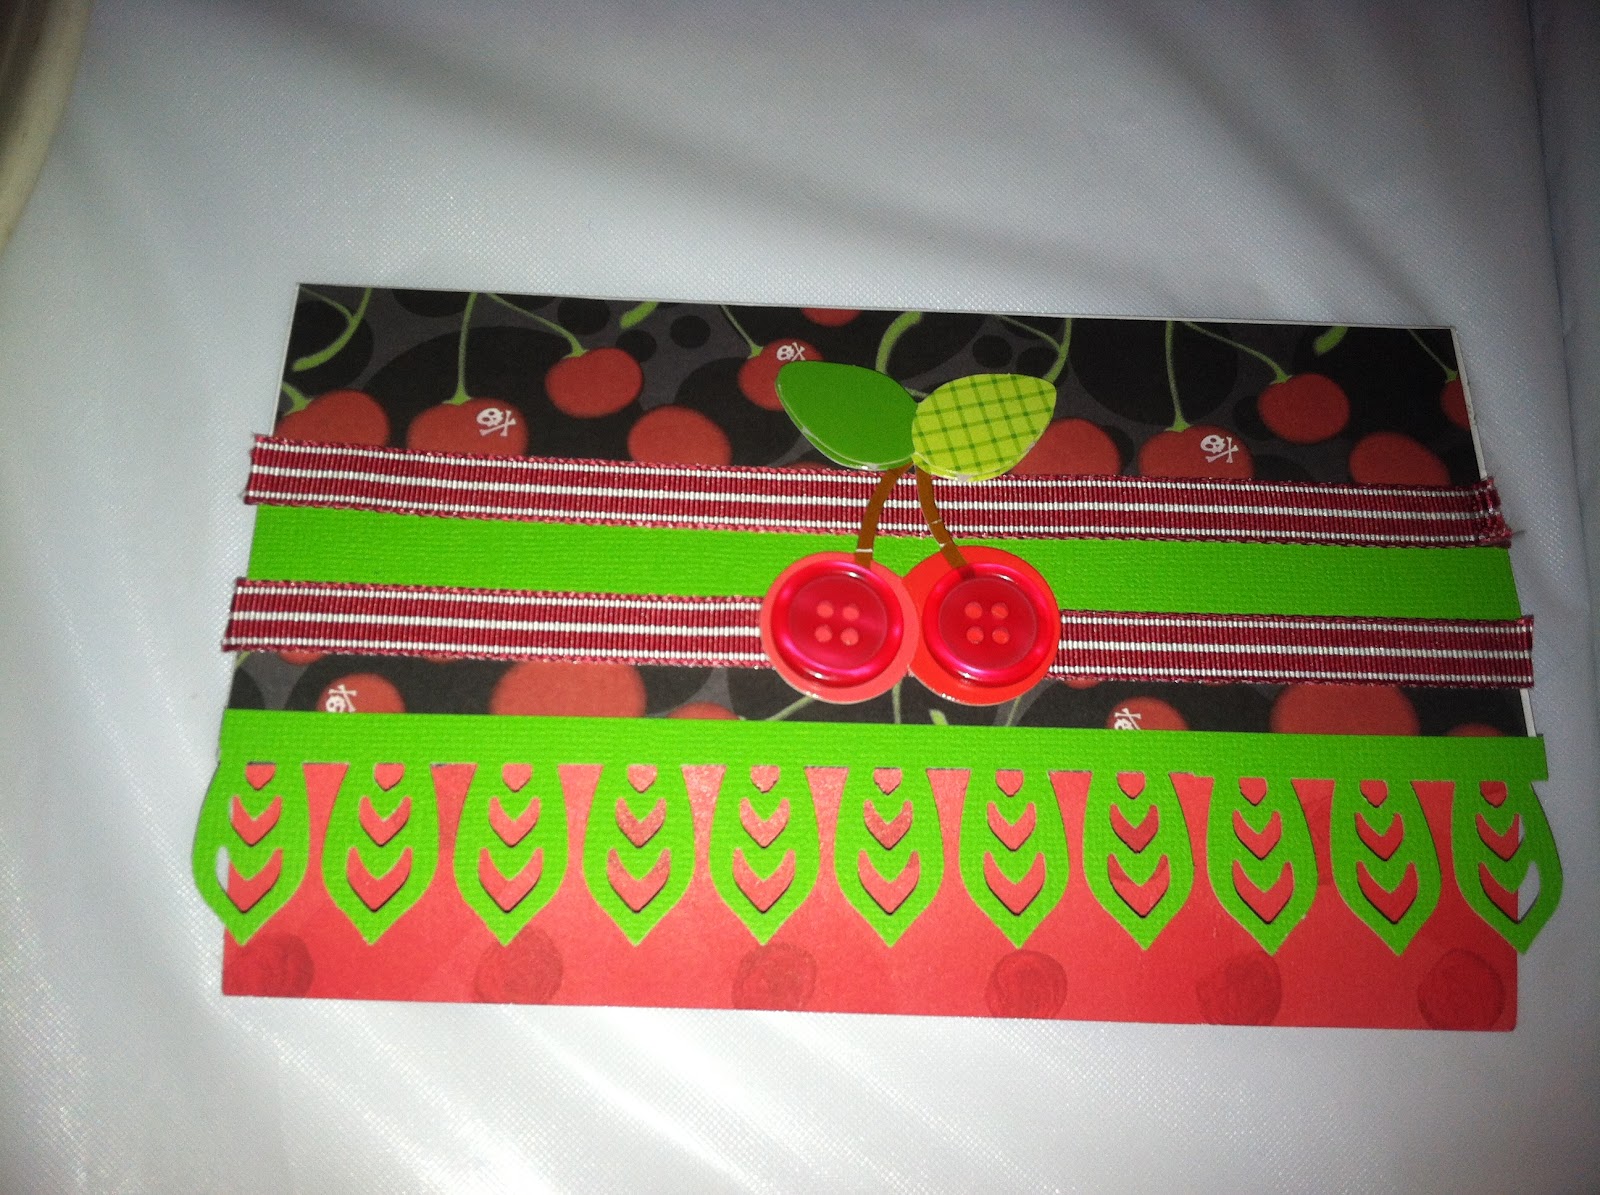
Miss Tracy celebrated her birthday recently and I had the pleasure of making her a birthday card.  The card I made was inspired by a card I saw at the Doodlebug Design's booth at last year's ScrapFest.  

I call this type of card "clutch style" because it reminds me of a clutch purse.  I used my Martha Stewart scoring board to make this three fold card, making sure the top fold overlaps the bottom fold. 

The black paper covered in cherries is Creative Imaginations, Caution Girls Collections "Red Cherries".  I've had this paper for awhile and wasn't quite sure what I would do with it.  I chose it for the top fold.  

I then cut down the red paper for the bottom fold.  I don't know the brand.  The only description I found on the paper was "Holiday Circle Red", not that it matters anyway.  

I decided to use accent paper to match the cherry stems.  I picked a bright green textured card stock to place in the middle of the cherry paper.  I liked the stripes on the ribbon and chose to line the green strip with it.  I used my EK Success Dahlia Dimensional Flower Punch for the edge of the top fold.  By the way, this punch also makes excellent flowers.  And then, of course, my cute little cherry doodle-pop in the center.  

I used a Studio G "Happy Birthday To You" stamp for the inside.  Another Michael's special.  ;p  

This is the inspiration for my card.  Adorable!  


And here's the birthday girl, looking all cute!

Happy Birthday, Tracy!  I hope your birthday was superfantabulous!  

Hi Ho!  Cherry-O, 
Jules

Saturday, August 25, 2012

A Cupcake Two-fer!

Another Saturday night and I ain't got nobody.  Ain't got no money because I didn't get paid...

Good evening, everybody!  I hope you're having a superfantabulous Saturday night.  I've been really busy lately so I haven't had a chance to blog even though I've been making cards.  Between working overtime, watching this season of Big Brother including episodes of the Dick at Nite recaps and my weekends being filled with fun activities, I haven't had a chance to get these cards up.  So, I am offering a birthday card two-fer!  

My grandma (on my dad's side) and my aunt Linda (also on my dad's side) celebrated birthdays in the month of August.  

Card #1 is for my Grandma that turned 86 years old.  


I like to refer to this as my ScrapFest card because most of it came from ScrapFest.  The paper on top was a gift given at one of the booths.  It is a sandable ColorCore cardstock from core'dinations.  It had a texture and I rubbed sand paper on it to create that faded look.  

The cupcake is from Doodlebug Designs doodle-pop collection.  It is called "Baby cake".  The "Happy Birthday" sentiment was also from a ScrapFest booth that I got YEARS ago.  It was one of those rub on stickers that I decided to save.  The polka dot paper is one of those no name papers from the Target dollar bin.  I think the striped ribbon is as well.  

Card #2 was for my aunt Linda who turned...


I liked the cupcake theme so much I chose to do it again.  The cupcake cardstock is from Bella Blvd (Baby Girl/"Baby Cakes").  It is double sided with a safari them on the other side.  I used my Creative Memories tearing tool for the lavender cardstock in the middle.  I had the cute cupcake sticker.  I think it might be from Target.  And the letters to spell out "Happy Birthday" were left at my house by a friend.  All so simple but cute!  

And now I want to eat a cupcake really bad.  If only we had cupcake ATMs like they do on the west coast.  Sigh...

I hope you enjoyed my cards.  I should have 2 or 3 more to post next week.  I'm hoping my weekends slow down so I can actually get back to scrapBOOKING.  It's been a long time and all of my back events are piling up.  

Forever a back scrapper, 
Jules


Tuesday, July 24, 2012

Corpse Bride Birthday Card For Josi

Happy Tuesday, all!  I hope you're beating the heat.

Josi turned 11 years old on July 18th.  She loves Tim Burton movies and even dressed up as the Corpse Bride a couple of Halloweens ago.  So naturally I thought of her when I saw the Tim Burton line from Simply Betty Stamps.  I've been holding on to this stamp for a very long time just waiting for Miss Josi's birthday.  I don't believe the stamp is available in rubber form anymore but the digi stamp, along with a whole bunch of other cool Burton stamps, are available at the above link.  I used Copic markers to color in.  As you can probably tell, I need to get more blue pens.  I don't do so hot coloring white people skin and I can't say I'm too impressed with my ability to do corpse skin either.  Practice, practice, practice...


The purple paper with the dark purple swirlies is from My Mind's Eye/"29th Street Market"/Carefree Adorable.  It is a double sided 12x12.  I used my Creative Memories oval cutter to cut the other side of the paper which is the light lavender paper under the stamp. I then centered the lavender paper and stamp over an iridescent eggplant colored card stock from Recollections.  


I found the "oh happy day" stamp at Michael's (in the dollar bin, always!).  I thought it was funny and was perfect for this card because it doesn't really fit.  I distressed it with 4 different Distress inks.  They are Worn Lipstick, Shabby Shutters, Spiced Marmalade and Dusty Concord.  I put it in the corner of the card and slapped some cutesie bling on the side.  

I have a rubber stamp pack that I bought at Michael's by Autumn Leaves Clear Stamps by Rhonna Farrer called "Flowers".  I used black ink and stamped them on all four corners of the card, overlapping all the layers of paper.  I then went over the stamps in Stickles "Cotton Candy".  

Yay, she got it in the mail and she liked it!

Happy Birthday, Josi!  And I meant what I said in your card.  I totally want to do a Tim Burton marathon with you.  Popcorn, candy, Mountain Dew and all!

Nice effin' model (honk honk), 
Jules

P.S.  The soundtrack to making this card.


Monday, July 9, 2012

Baby Boy Diaper Cake and Baby Shower Card

Happy Monday, everybody!  

My friends Matt & Candice are having a baby boy very soon!  They had their baby shower over the weekend.  I was excited because I've known for months that I would be making a diaper cake.  It's my go to baby shower gift.  They are surprisingly easy to make, you can spend as much money on them as you like and be as creative with them as you like.  


The "Boy Sock Monkey" diaper cake

WHAT YOU WILL NEED
  • 50 diapers (preferably size 1, as the baby may not stay in Newborn for too long)
  • a base.  I used a cardboard circle cake base but you can use any base you like.
  • a bottle of champagne or sparkling white grape juice
  • at least 3 receiving blankets
  • tape
  • twine
  • 3 safety pins (which I didn't use but wish I did)
  • 1 roll of decorative ribbon
  • a toy to put on top
  • cellophane 
The cardboard circle cake base.  You can get these at most places where you can buy cake decorating supplies.  


Roll each diaper.  The best way to do this is to keep the diaper closed (like it came out of the bag) and roll from the crotch up.  You can tape it shut.  Or you can use rubber bands, ribbon, twine, etc.  If you choose not to use the receiving blankets for the "frosting", you want to make sure you're rolling them with the white on the outside so the "characters" are not showing.  

The receiving blankets I bought came in a 4 pack so I decided to cover the cardboard base with one of them.  You take your bottle and place it in the center of the base.  

What I did was cut some twine not quite as wide as the base.  Then I tied the twine into a circle.  Once you start lining the diapers around the cake, the circle of twine will help you hold your diapers in place.  For the first tier, you'll need approximately 34 diapers.  You'll line them around the bottle.  The 34 diapers will go around the bottle approximately 2 and a half times.  The part that doesn't have 3 full rows will be the back of the cake.  

I folded the yellow receiving blanket and wrapped it around the first tier, letting it overlap the top of the tier.  Fasten the back of the receiving blanket with a safety pin.

Next move on to the second tier.  This will take approximately 11 diapers.  Do the same thing as the first tier and other receiving blanket.  I tied the twine around the receiving blanket because I didn't use safety pins in the back.  

And use the remaining 5 diapers for the top tier.  


The last receiving blanket on top.

Put the decorative ribbon around each tier, securing with tape.  And for the top of the cake, a nice stuffed animal will do.  Teddy bears are great.  I picked the sock monkey because Matt is a fan.  And I liked this one because it had the little blanket attached to it.  


Here's another diaper cake I did a couple of years ago to show you how it looks without the receiving blankets.  I rolled some wash cloths in the place of a few diapers.  

You can wrap these in cellophane, or netting.  Or you don't have to wrap it up at all.  For traveling purposes, I usually prefer to wrap it.  

I love diaper cakes!

And here's the card I made for Matt & Candice.  

This was my first time doing skin with Copics markers!  I think it went well.  I got the digi stamp from Melonheadz.  

The lime green star paper and the trucks come on the same doubled sided 12x12 paper from the company Bella Blvd/Baby Boy/"On the Go".   The stripes are also from a double sided 12x12 by Bella Blvd/Baby Boy/"Wild About You".  The other side was a giraffe print, hence the "Wild".  

It may not be noticeable in the picture but I used Distress Ink in "Shabby Shutters" around the edge of the digi stamp before placing on top of a blue card stock.  


It was fun to do a boy themed diaper cake and card!  I love shopping for babies and only wished I wasn't on such a tight budget.  

Biological clock still not ticking,
Jules
 (the "J" is pronounced as an "H" (Hules) but for this blog post only  ;-D )